10. Make chimney (See Annex 1) and fix onto the stove.
11. Let the stove dry for two weeks and then smear with cow dung or ashes, repairing any cracks
that may have appeared. (See Annex 2: Repairing cracks).
12. Leave for another one week before use.
There are possibilities of using ceramic grates in Lorena stoves. Integrated Rural
Development Initiatives in Uganda has tried this in some areas and it has proved effective.
These are, however, optional.
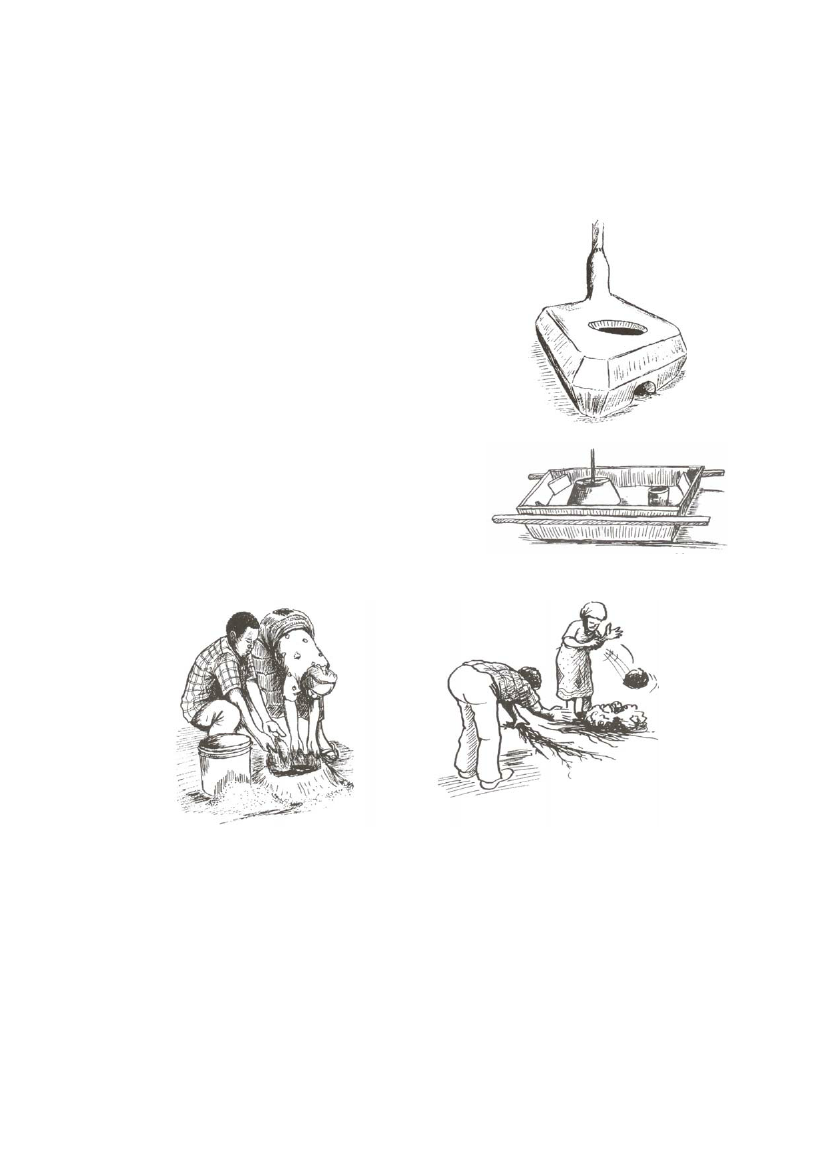
Unicef stove
This is a one-pot mud stove which was developed by
UNICEF in the mid 1980s in Kenya. After dissemination on
a pilot basis in several areas, it was abandoned but later
reintroduced in Uganda by stove promoters. It is one of the
few mud stoves that are portable though quite heavy.
Materials used
Sand or silt, clay or ant hill soil, dried grass and ash.
Mixing ratios
Three parts of sand or silt to one part of clay or ant hill soil.
Tools commonly used
A standard mould, hoe, bucket and a panga.
Figure 5.34 The Unicef Stove
How to make the Unicef stove
1. Mix clay and sand with water thoroughly to make
mud.
2. Spread grass sparingly on the ground and pack a
thin layer of mud over it by throwing mud balls on it
with some force.
Figure 5.35 Unicef stove mould
Figure 5.36 Mixing clay and sand with water
Figure 5.37Spreading grass and throwing mud balls
16